How to make an object show, from first sketch to episode
Updated
An object show is a cartoon series starring everyday things: a pencil, a toaster, a carton of milk, each with a face, stick arms and legs, and a big personality. Many are competition shows where the objects face challenges and get voted out. Others are sitcoms or adventures. They’re a favorite first series for animators who work alone or with friends, because the characters are simple to draw and quick to animate.
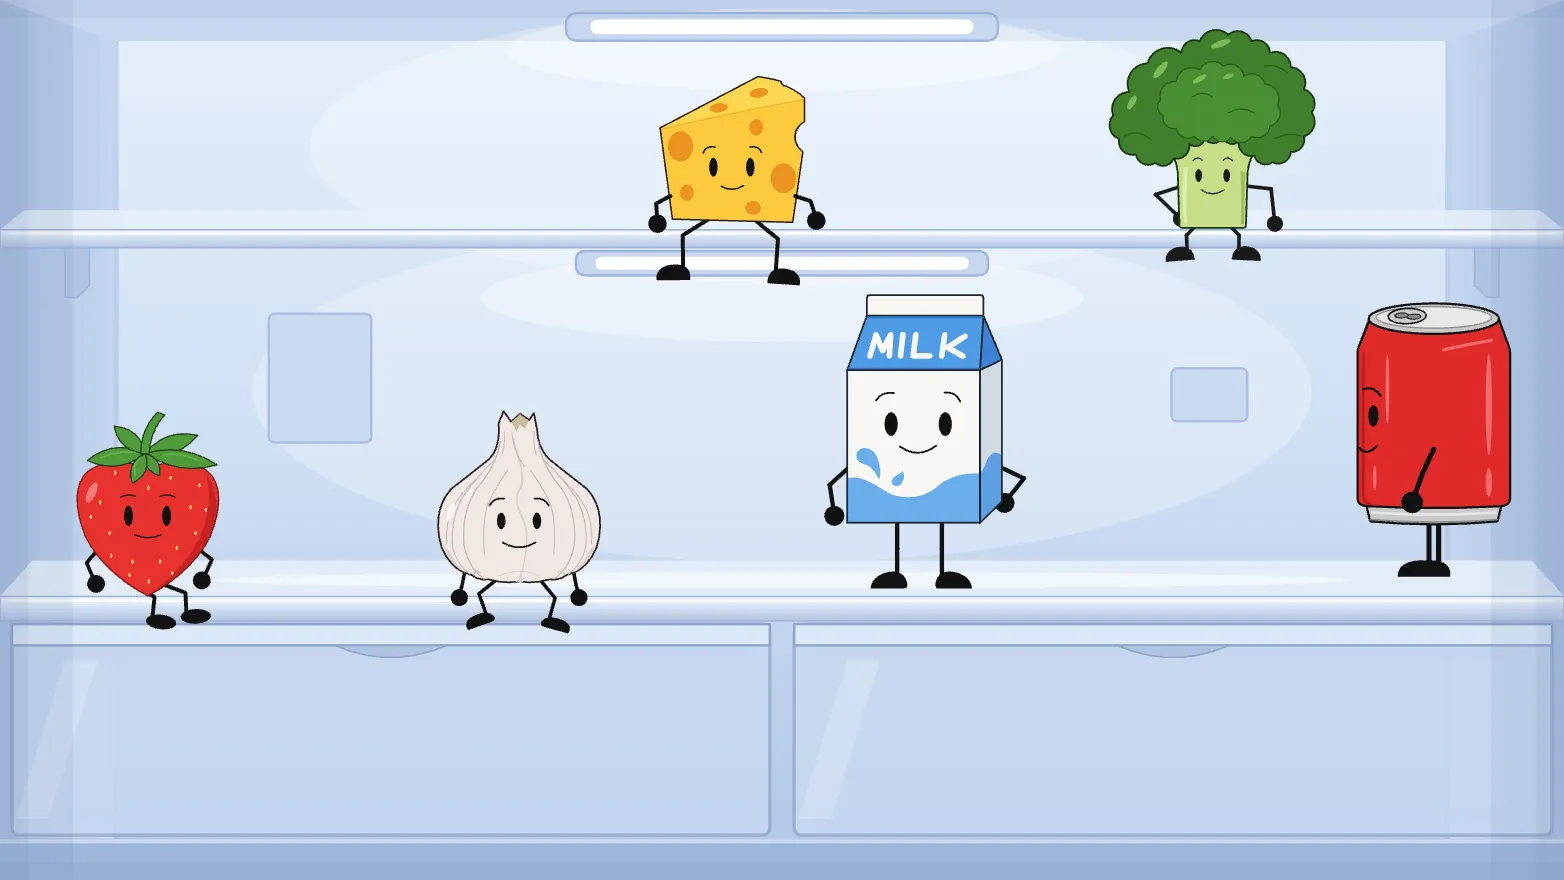
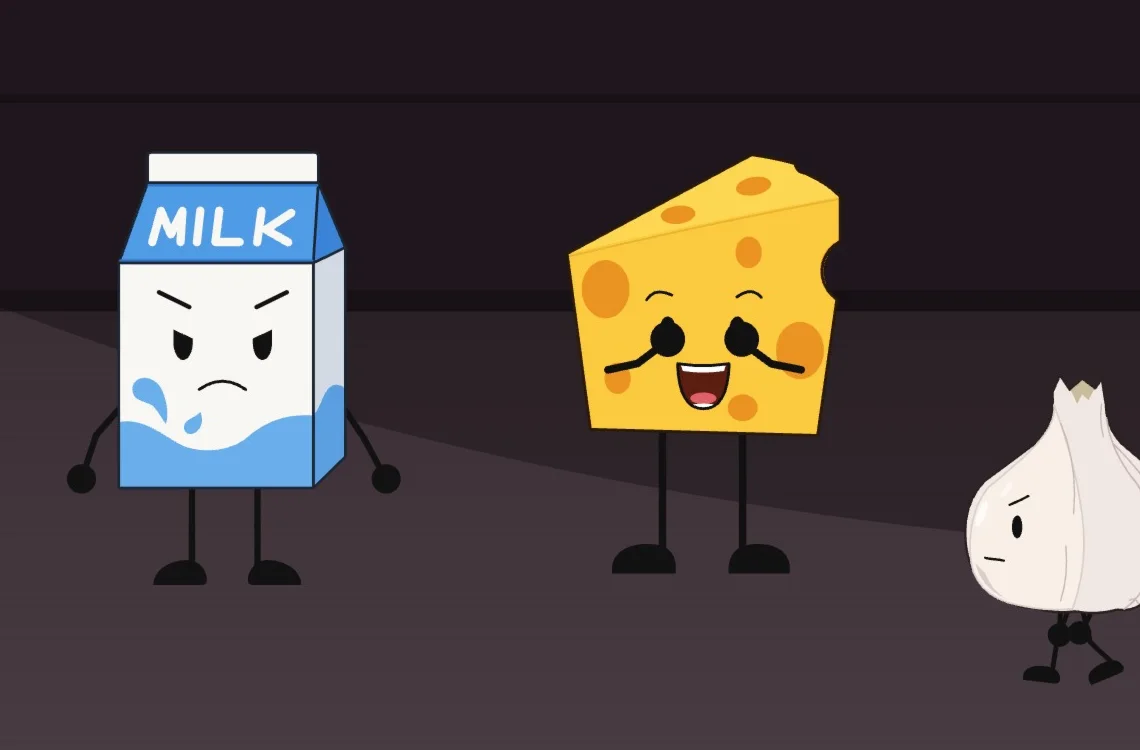
This guide covers the whole path: designing a cast, rigging it, giving it voices, and building an episode. The examples are Milk, Cheese and Garlic from Once Upon A Kitchen, a short series made in Animperia, a 2D animation studio that runs in your browser.
Plan the show
Before you draw anything, answer three questions:
- What’s the format? A competition with challenges and eliminations, a sitcom in one place, or an adventure. The format decides how many characters you need and how many locations you’ll draw.
- Who’s in the cast? Start with four to eight characters. Each one needs a shape, a color and a personality that differ from the others: the grumpy one, the nervous one, the one who thinks they’re in charge.
- Where does it happen? A kitchen, a classroom, a desk. One home location with a few side locations keeps the backgrounds manageable.
Make your own characters. Using the characters, names or logos of an existing show isn’t yours to do, and an original cast is what makes people remember your series.
Step 1: design the characters
Object-show characters follow a simple recipe, and it’s worth sticking to it:
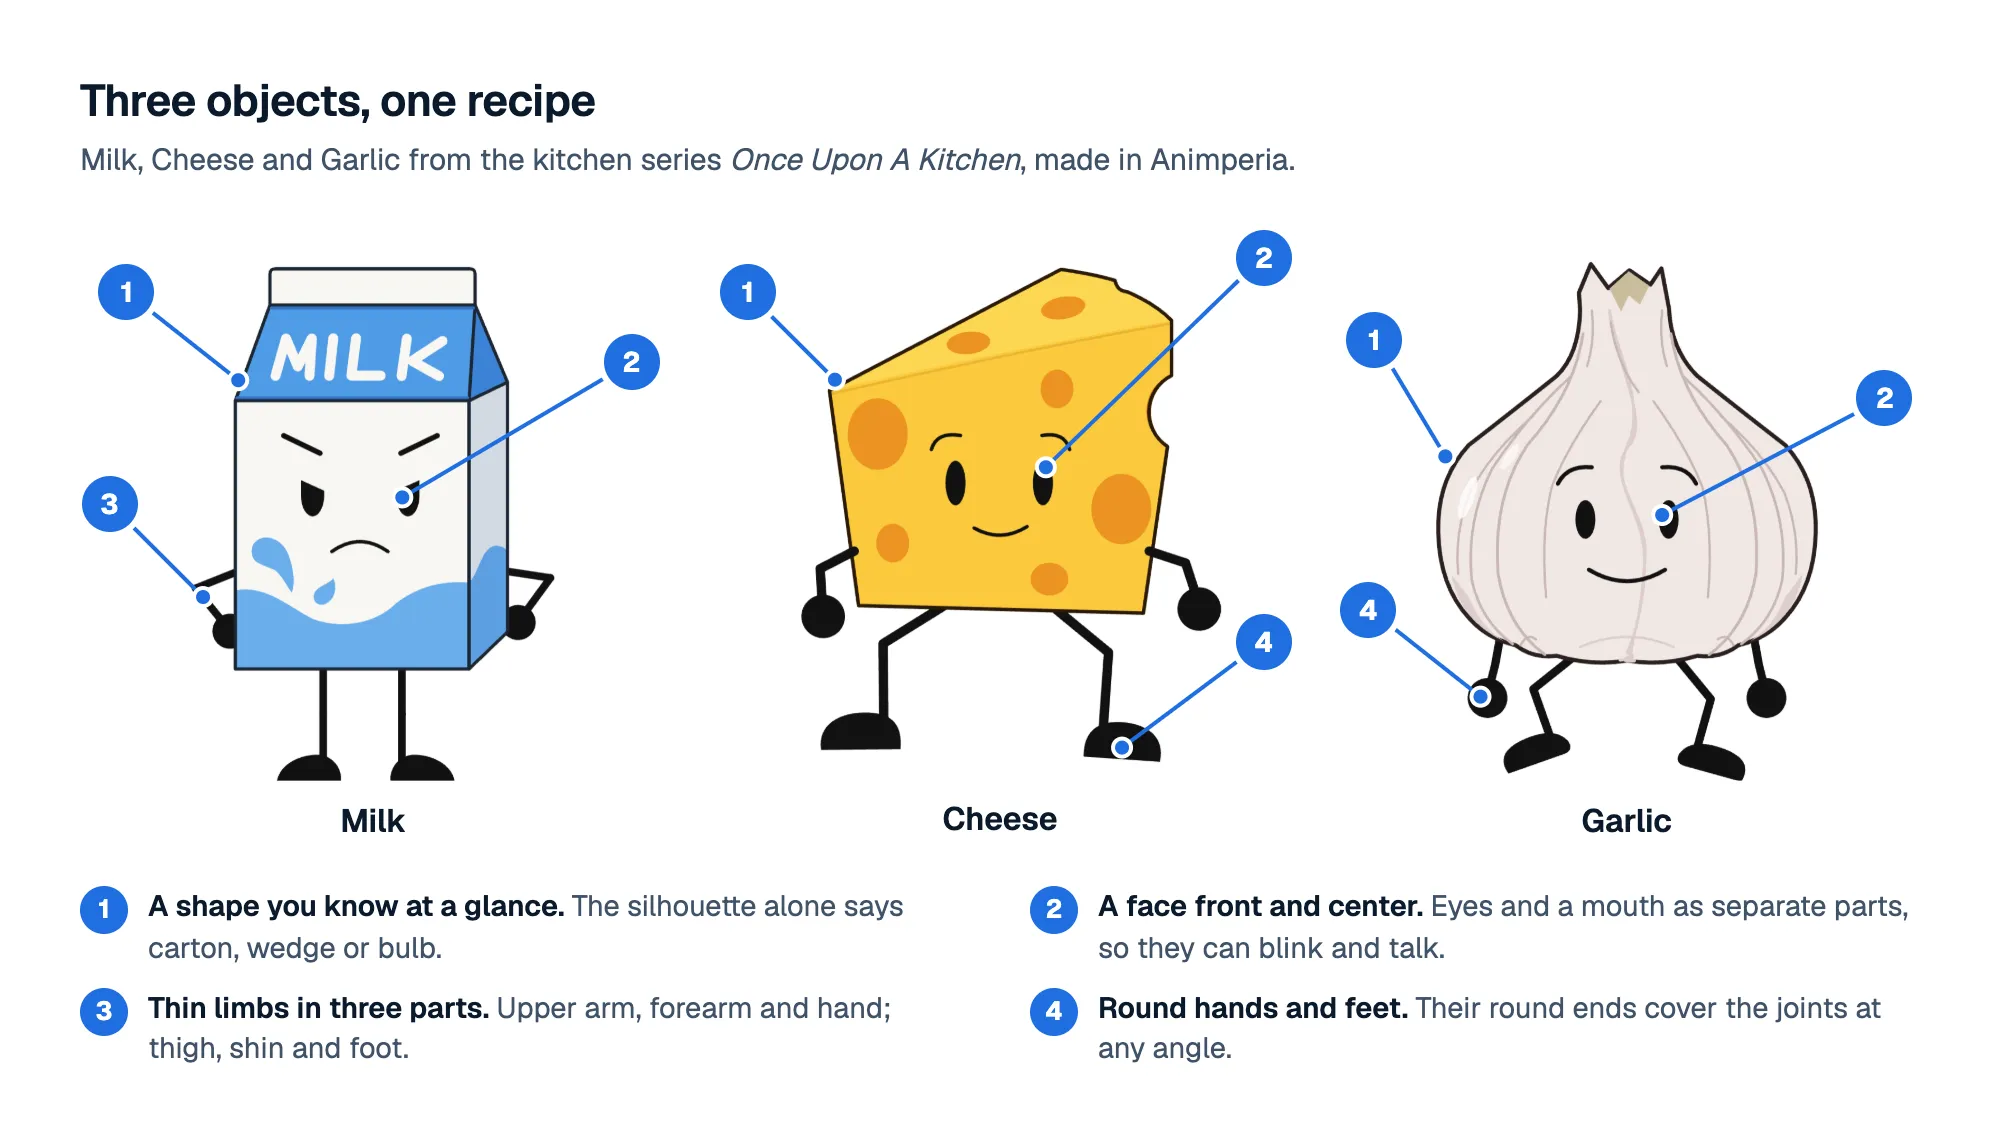
- A shape you know at a glance. The silhouette alone should say what it is: carton, wedge, bulb.
- A face front and center. Eyes and a mouth as separate pieces, so they can blink and talk. Brows do most of the acting.
- Thin limbs in three parts. Upper arm, forearm and hand; thigh, shin and foot. Black lines work well and stay readable when small.
- Round hands and feet. Round ends hide the joints when the limbs bend.
Give each character one color that no one else uses, so viewers can follow who’s who in a crowded scene.
Step 2: draw them
In Animperia, open the library, click +, pick Object and choose Blank canvas to draw a character in the drawing editor with the pen, the brush, lines and shapes. If you draw in Illustrator, Inkscape or Figma, choose SVG file instead and import it; each group in the file becomes a group in Animperia.
Draw the body as one piece, the face as separate pieces (left eye, right eye, brows, mouth), and each limb as three pieces. Stand the character up straight, arms slightly out, in a neutral pose.
Step 3: rig them
Rigging turns the pieces into parts that hang from each other and turn at joints, so you pose the character instead of redrawing it. In Animperia it’s Make as body part in each group’s menu, the Bone tool to check the joints and a Wiggle test to see that nothing comes apart. Name the face part Mouth so it can talk.
Our step-by-step guide shows how to rig a 2D character, and the 2D rigging page covers every tool. For an object, the body is the main part: the face rides on it, and the arms and legs hang from it.
Step 4: give them voices
Dialogue is the heart of an object show, and the mouth is where most of the frames would go. Animperia’s lip sync moves the mouth for you.
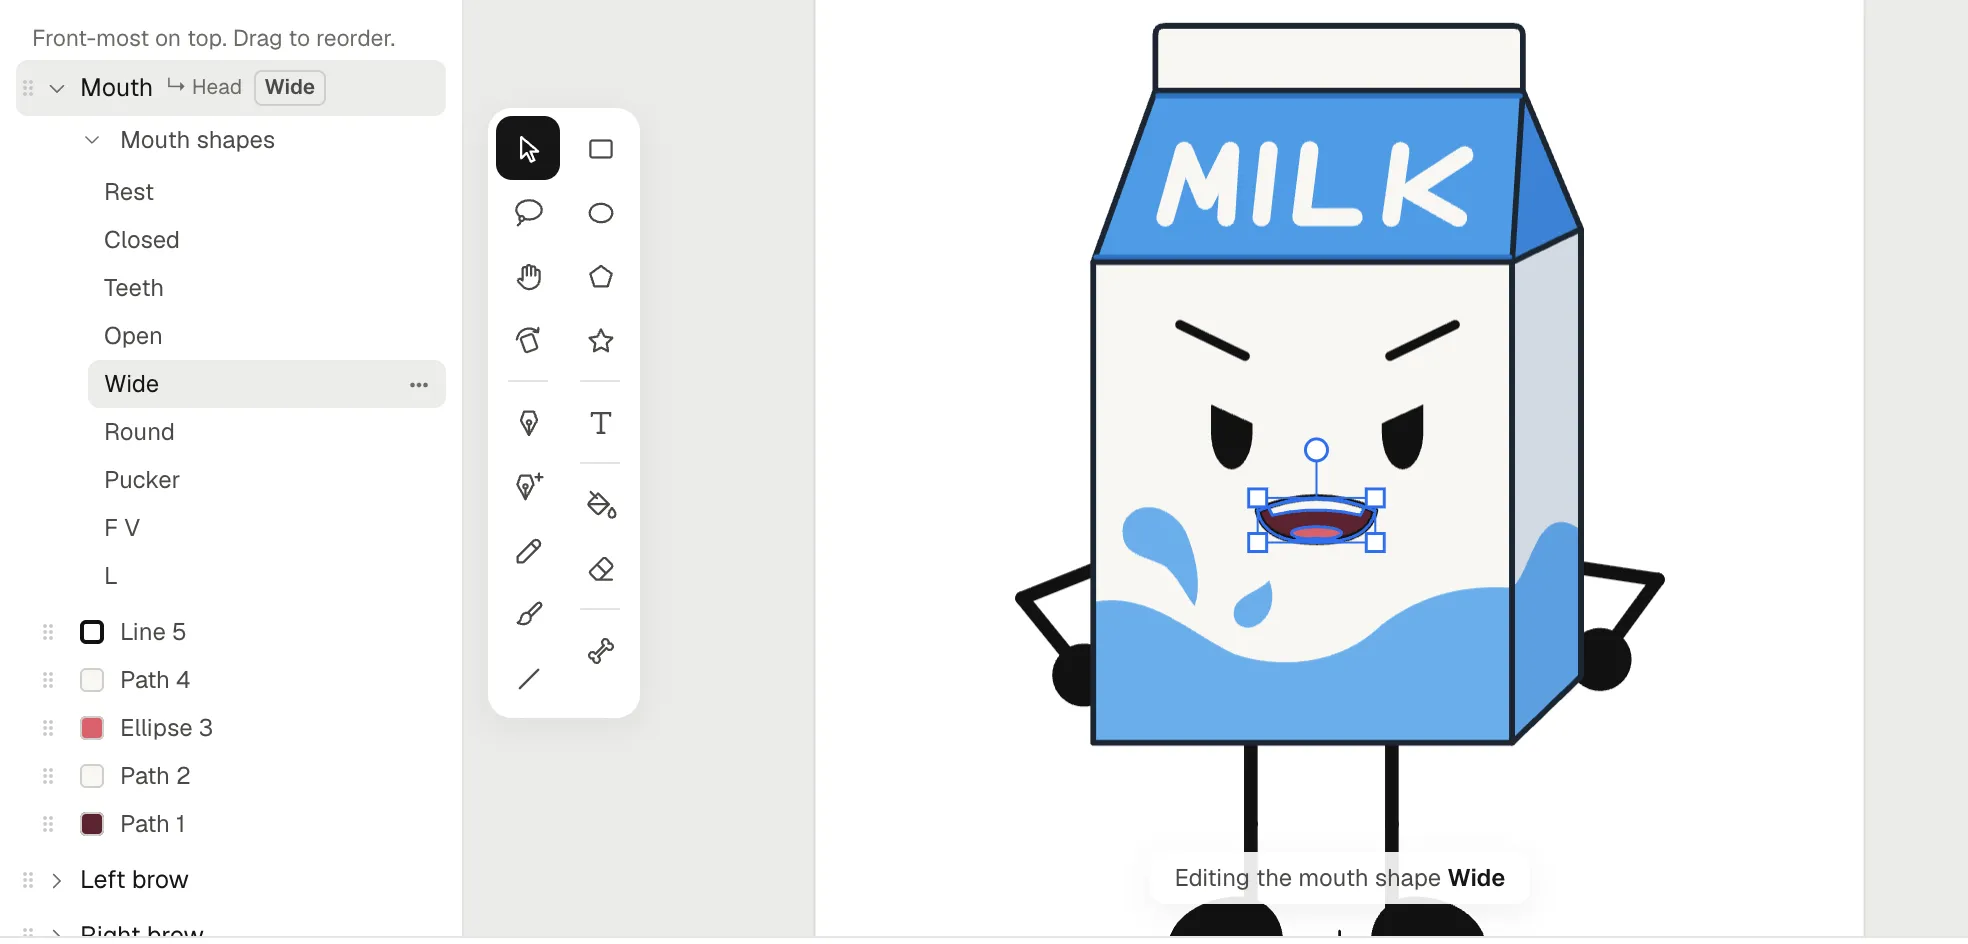
Mouth shapes. Every character with a mouth has eight mouth shapes (Closed, Teeth, Open, Wide, Round, Pucker, F V and L), plus the mouth as drawn for silence. It starts with plain ones made from the mouth you drew. To make them match your style, open Mouth shapes under the mouth in the drawing editor, click one and redraw it. Talk test plays them in a row.
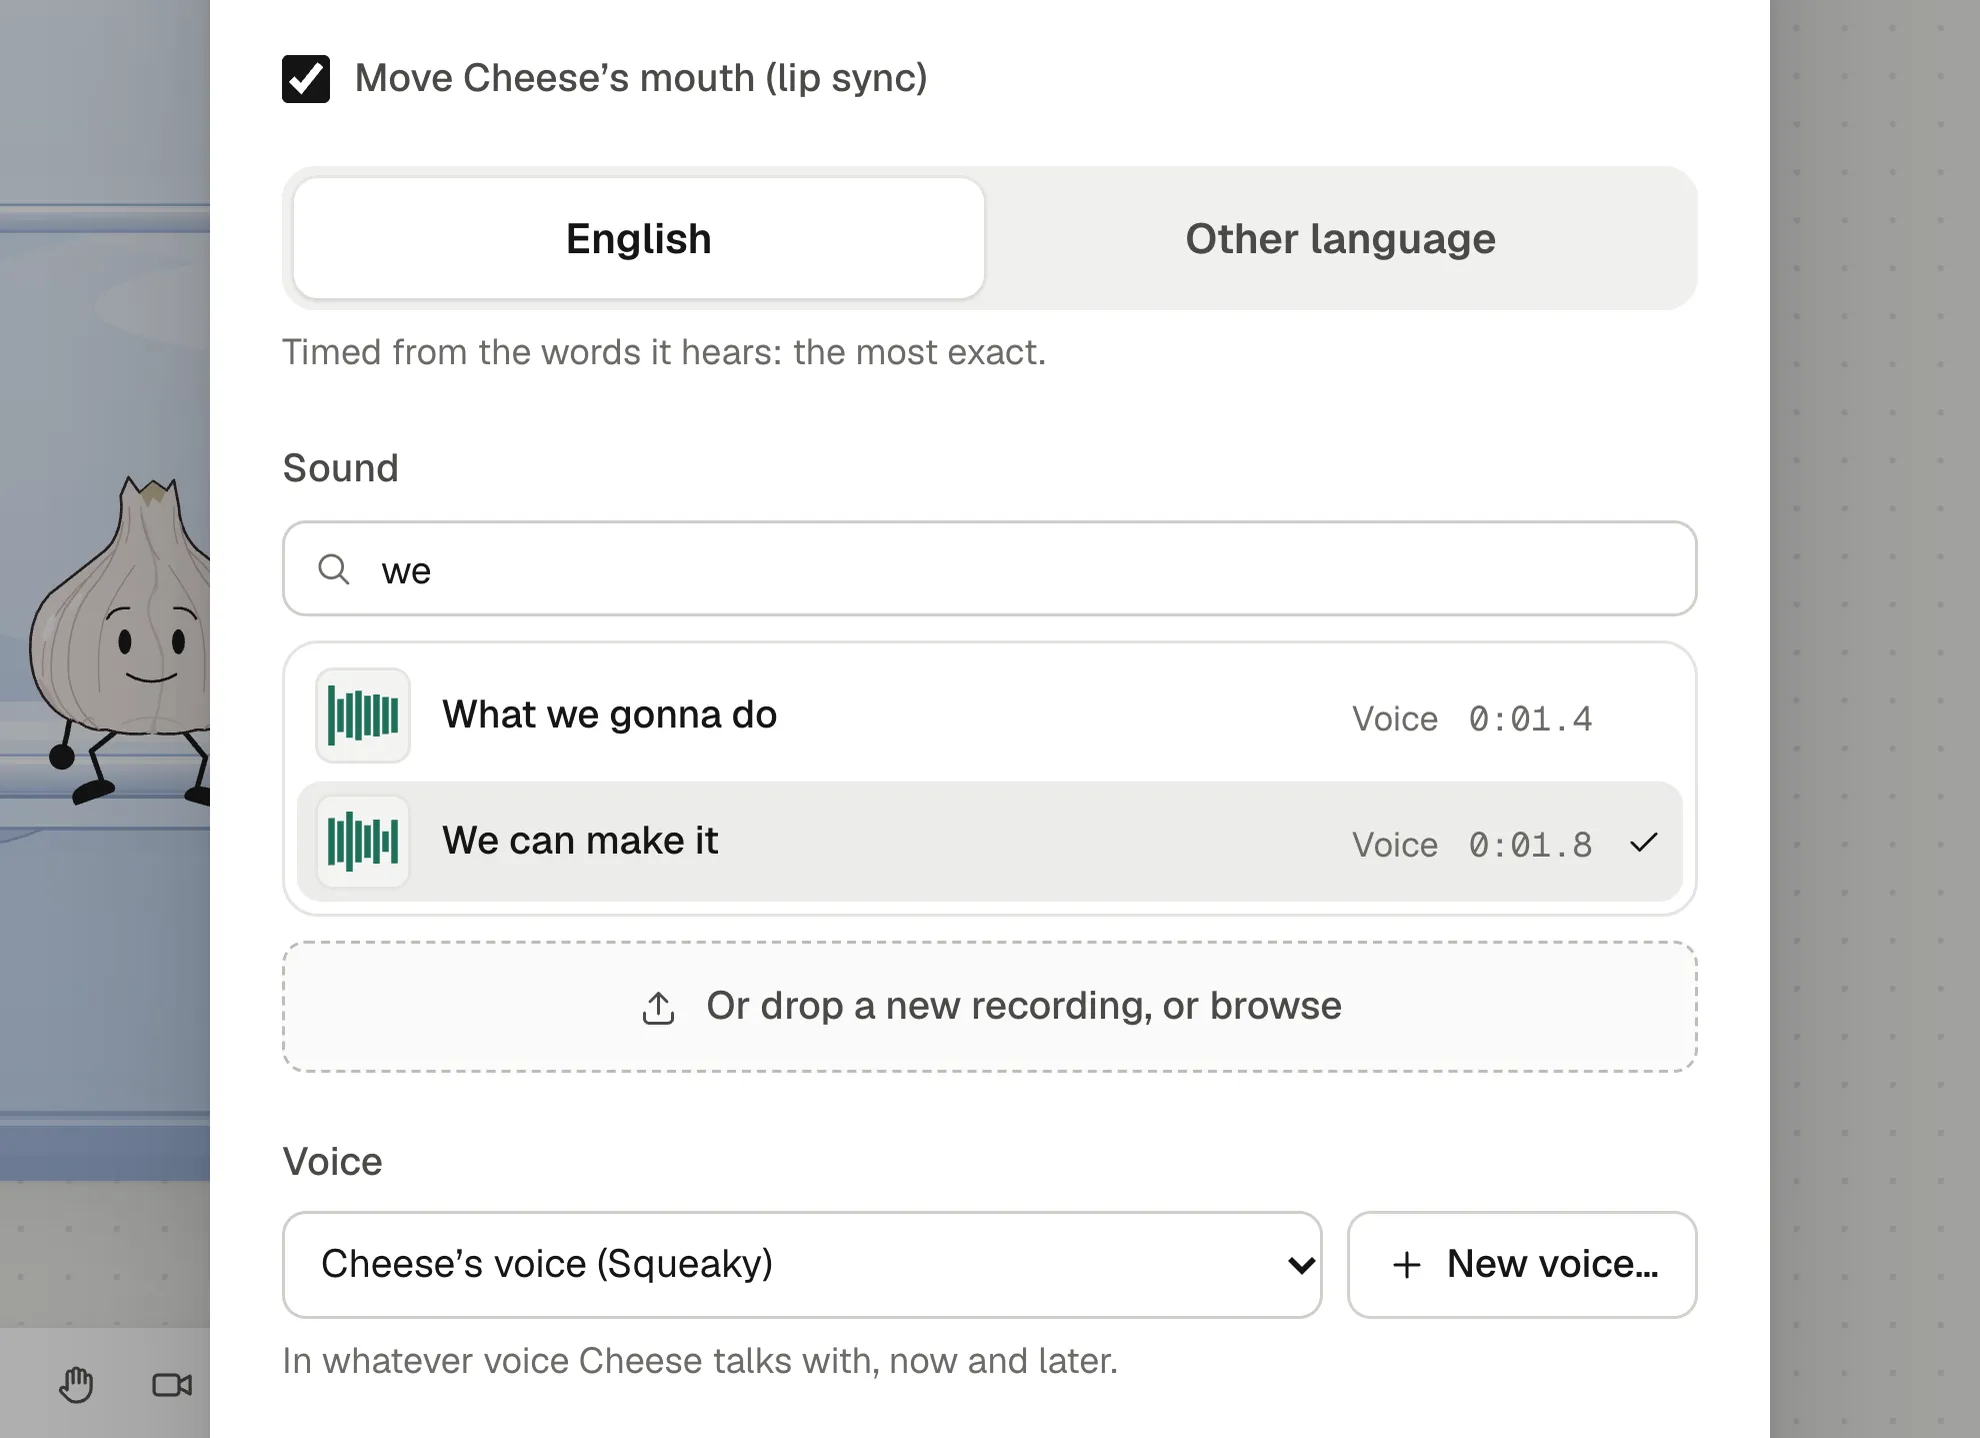
Record the lines. Record each line as its own file with any recorder app, one line per file, and name it after what’s said. In the library, click + and pick Sound to upload it. If your mic hisses, Remove noise in the sound’s drawer cleans it up.
Give a voice. Right-click a character on the stage and choose Give a voice…, or simply drag the sound onto the character. Pick English or Other language, and type the line under What it says if you like, which makes the timing of English more exact. The line goes on a sound layer of its own, and the mouth follows the words on the stage and in the export.
One actor, many voices. If you voice the whole cast yourself, give each character a voice of its own: start from one of twelve ready-made voices, such as Squeaky, Bossy, Giant or Robot, and tune its pitch and size. Every line that character says is then said in its voice, and the mouth stays in time.
Lip sync isn’t unique to Animperia: Adobe Animate, Toon Boom Harmony and Cartoon Animator also make mouths follow a recording (Adobe, Toon Boom, Reallusion, checked on 11 October 2026). What matters is that you don’t time every mouth by hand.
Step 5: build a library of moves
Every character needs a few animations it will use again and again. Make them once in the drawing editor and play them in any scene as clips:
- Blink, short, to drop in every few seconds;
- Idle, a little sway for standing around;
- Talk gestures, a point, a shrug, hands on hips;
- Walk and run cycles;
- Reactions, the scared face, the jump, the facepalm.
Clips combine, so a character can walk, blink and talk at once. Our guide on animating without drawing every frame shows how far reuse goes.
Step 6: make an episode
A simple workflow that works for one person:
- Write the script as a list of lines with who says them.
- Record all the lines, then clean and upload them.
- Make a scene for each location or beat. Each scene in Animperia has its own timeline with layers: the background at the back, the characters above it, and the sounds on layers of their own.
- Block it. Place the characters, drop each voice line on its speaker, and add the clips: reactions, gestures, walks.
- Add camera moves. A Camera layer pans and zooms like any other layer, with keyframes and tweens, so a close-up on a punchline is a few clicks.
- Carry on to the next scene. Duplicate scene in a scene’s ⋯ menu starts a new scene exactly where the last one ends, every character where it stood, and music keeps playing.
- Export. Export in the top bar renders all the scenes back to back into one MP4 at 720p or 1080p, ready to upload. For Shorts, Reels or TikTok, start the project on a portrait (9:16) canvas.
Reuse is your friend here too. Make the intro once, as a scene of its own, and start each new episode from a copy of the last one (Duplicate in the project’s ⋯ menu on the projects page): the intro, the cast and all their animations come along.
Questions
Can I use characters from a show I like?
For practice, maybe, but don’t publish them as your own series. Characters, names and designs belong to their creators. Your own cast is also what makes your show stand out.
Do I need to know how to draw?
Not much. Object-show characters are simple shapes with stick limbs, and you can build them from rectangles, ellipses and lines with a mouse. A drawing tablet helps but isn’t needed.
Can friends work on the same project?
Not at the same time. You can download a whole project as one .animperia file from its ⋯ menu, and a friend can import it into their own account as a copy.
Is it free?
Yes, Animperia is free during the beta. It runs in a desktop browser on Windows, Mac or Linux; we test it in Google Chrome. Accounts are for people aged 13 and over. Sign up and start with one character and one line of dialogue.